
In Microsoft Excel, the Quick Access Toolbar is a customizable toolbar independent of the tabs on the ribbon.
It is usually located in the title bar of the Excel window, but it can also be configured to display below the ribbon.
It will look something like this on a new installation:
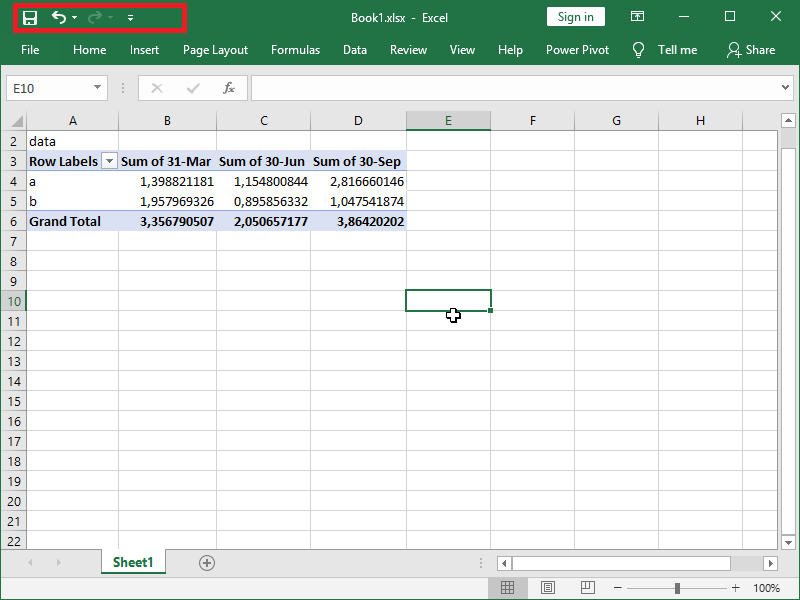
You can see the often-used commands Save, Undo, and Redo already on the toolbar.
If you want to remove those, or more likely, add some commands you often use on the toolbar, you can do that by going to File, then Options, and then Quick Access Toolbar.
Alternatively, you can also select additional commands or go to the More Commands option in the toolbar menu:

You have multiple “sources” for your commands, and we will here go with All Commands:
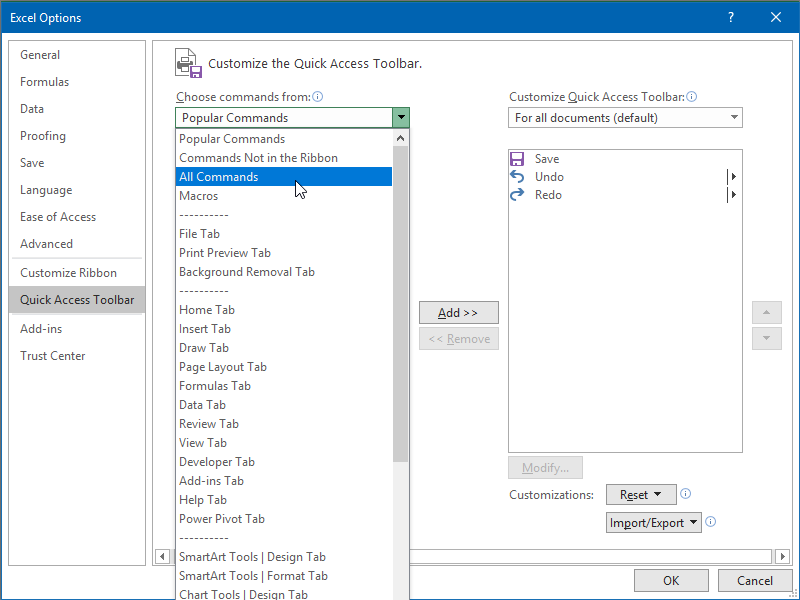
You can add and remove commands with the help of the Add and Remove buttons, respectively.
You can rearrange commands with the help of the Move Up and Move Down buttons.

Here, I’m adding the Select Visible Cells command; I like to have that command at hand because I often filter data.
I’m also adding the Refresh All and Edit Links to Files commands; I like to have those commands at hand because I’m often connecting my files to databases and other workbooks.
Once expanded, the Quick Access Toolbar looks like this:
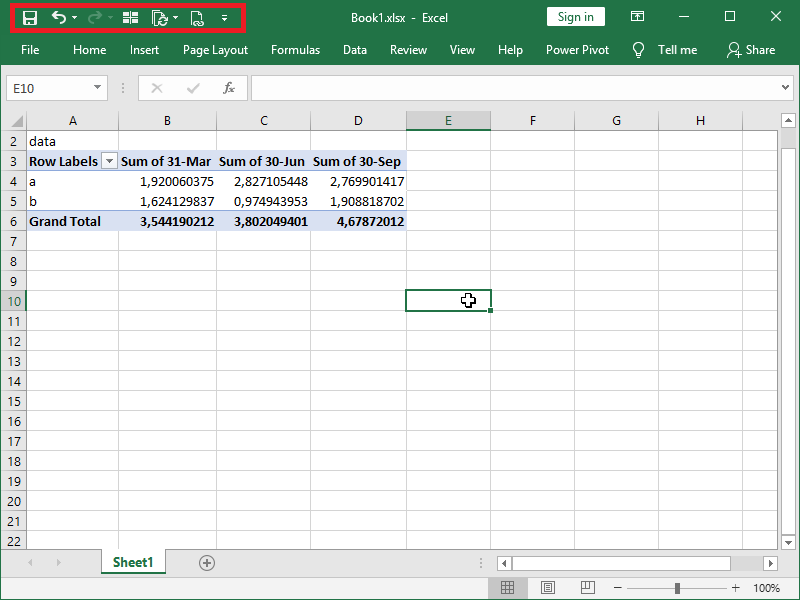
Notice that the Redo command is grayed out; there is nothing to Redo in this worksheet.
However, all other commands are available, as this workbook can be saved, changes can be undone, and I can select only visible cells, refresh the data I’m connecting to, or edit the links to the file I’m linking to.
Dig deeper:
4 thoughts on “How to customize the Quick Access Toolbar”